
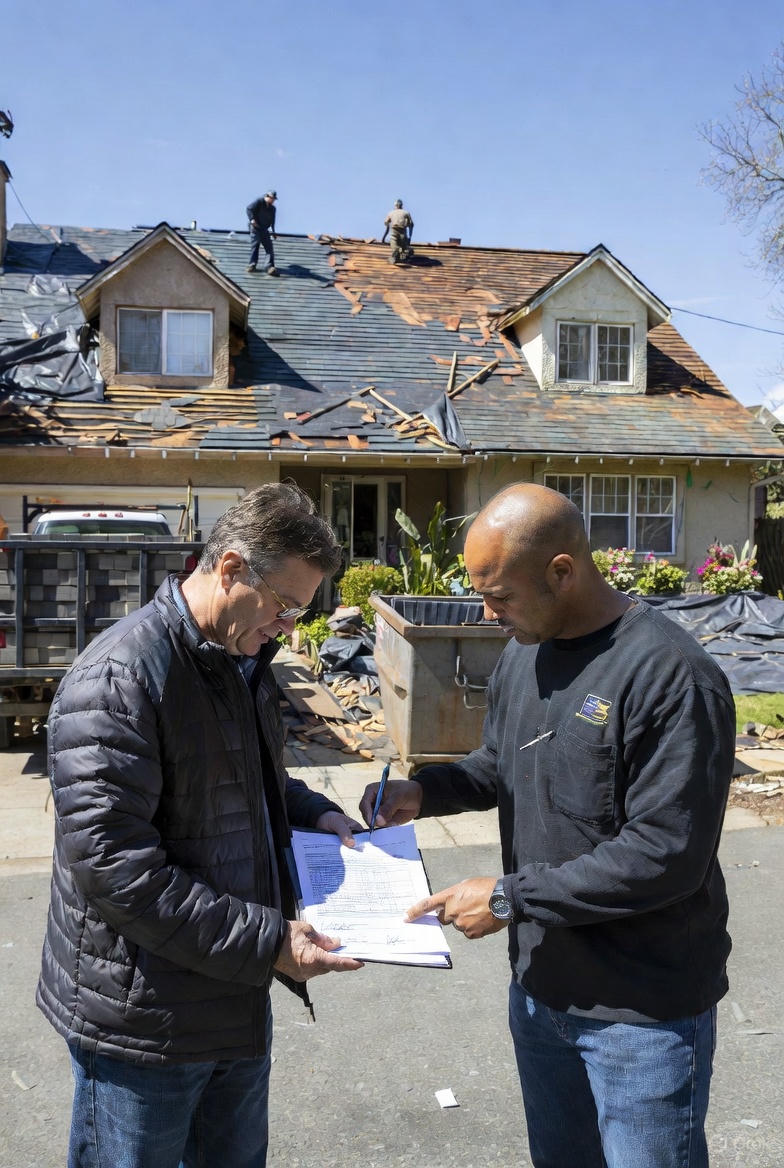
Hiring an exterior contractor for a full roof replacement is one of the biggest investments you’ll make in your home. It’s not just a purchase; it’s a major construction project. For most homeowners, the process is a black box. You sign a contract, and a few weeks later, a crew arrives at 7 AM, and chaos ensues. But it doesn’t have to be stressful. A professional roof installation service follows a clear, predictable, and systematic path from the first handshake to the final nail.
Knowing what to expect at each stage is the key to a smooth, successful project, ensuring you get the full value and lifespan from your new roof. This guide provides a start-to-finish walkthrough of the entire installation process, demystifying the noise and activity to give you peace of mind.
The Most Important Project: Why Installation Matters More Than Shingles
A modern roof is not a single product. It’s an integrated system of multiple components: the decking, an ice and water shield, underlayment, drip edge, flashing, the shingles themselves, and ventilation. These parts are all designed to work together to keep water out, manage airflow, and protect your home’s structure.
This is why the service part of a “roof installation service” is far more critical than the shingle brand you choose. A 50-year shingle installed improperly will fail in 10 years, and the manufacturer’s warranty will be void. A professional installation follows the manufacturer’s strict specifications, protecting your home and ensuring your warranty remains valid.
The process can be broken down into three distinct phases: Pre-Construction, Installation, and Post-Construction.
Phase 1: The Pre-Construction Steps
This phase is all about planning, communication, and logistics. A smooth project is built on a solid foundation of preparation.
The In-Depth Consultation and Estimate
Before you sign anything, a representative from the roofing company will conduct a thorough inspection. A “red flag” is any contractor who gives you a quote from a satellite image alone.
A true professional will:
- Get on the roof: They will walk the entire surface, checking for soft spots, damaged flashing, cracked pipe boots, and chimney issues.
- Inspect the attic: This is a crucial step. By looking at the underside of your roof deck, they can spot old leaks, check for mold or rot, and—most importantly—assess your existing ventilation and insulation, which are critical to your new roof’s health.
- Discuss your goals: They’ll ask about any problems you’ve had (like ice dams or hot rooms) and discuss material options.
Material Selection and Contract Signing
This is when you’ll move from “I need a new roof” to “I am getting this roof.” You will select:
- Shingle Type: Architectural (dimensional) shingles are the most popular, offering great durability and appearance. Luxury shingles can mimic slate or wood shake.
- Color: Your contractor should provide full-sized sample boards, not just small paper swatches.
- System Components: A good contractor will explain your options for underlayment (synthetic is a major upgrade over old felt paper) and ventilation (e.g., ridge vent vs. box vents).
Once you’ve made your choices, you will receive a detailed contract. Never sign a one-page estimate. A professional contract is a multi-page document that specifies:
- The exact scope of work (e.g., “Tear off one layer of existing shingles”).
- The specific brands and products to be installed (e.g., “GAF Timberline HDZ Shingles, Charcoal”).
- The warranty details (both manufacturer and workmanship).
- A payment schedule.
- A contingency clause for rotted decking (see Phase 2).
Logistics: Permits, Scheduling, and Material Delivery
After you sign the contract, the company’s production team takes over.
- Permitting: The contractor will (or should) pull all necessary permits from your local municipality. This is a sign of a legitimate, accountable business.
- Scheduling: You will be given a tentative start date, which is almost always “weather permitting.” A good roofer will not tear off your old roof if there is a strong chance of rain.
- Material Delivery: A day or two before the project starts, the materials will arrive. A supply truck will drop the shingle bundles, underlayment, and other supplies directly onto your roof or on pallets in your driveway.
- Dumpster Arrival: A large dumpster will also be delivered and placed in your driveway, ideally on wooden planks to protect the surface.
Phase 2: The Installation Process (The “Work” Days)
This is when the action happens. A typical asphalt shingle roof replacement on an average-sized home takes 1-3 days.
Day 1: Site Preparation and Tear-Off
The crew will arrive early (often 7:00-7:30 AM). The first hour is dedicated to property protection. This is a key differentiator of a professional service.
Protecting Your Property
The crew should:
- Lay large tarps over your foundation plantings, landscaping, and lawn.
- Move patio furniture, grills, and potted plants to a safe distance.
- Place plywood over sensitive areas like air conditioning units, windows, and garage doors.
- Ensure your driveway is protected from the dumpster.
The Tear-Off (Noisy, Messy, and Necessary)
Once the site is secure, the tear-off begins. This is the loudest, most chaotic part of the project. A crew will systematically strip all old shingles, felt paper, and flashing from the roof deck, throwing the debris directly into the dumpster below.
You will hear constant banging, scraping, and thudding. It’s a good idea to remove any pictures or fragile items from your walls, as the vibrations can shake them loose.
The “Moment of Truth”: Decking Inspection
Once the old roof is gone, the bare wood decking (sheathing) is exposed. This is the single most important checkpoint of the entire installation. The project manager will walk the entire deck to inspect for:
- Soft Spots: Spongy wood that has lost its structural integrity.
- Water Damage: Dark, stained, or delaminated (peeling) plywood.
- Dry Rot: Wood that has become brittle and weak.
- Improper Spacing: Deck boards that do not have the proper gaps for expansion.
Any compromised decking must be replaced. Your contract should have a “contingency clause” that specifies a per-sheet price (e.g., “$85 per sheet of 1/2″ plywood”). The project manager should stop, notify you, take photos of the damage, and get your approval before replacing the wood. This is the mark of an honest and transparent contractor.
Rebuilding the Foundation
After any bad decking is replaced, the crew begins rebuilding the roof system from the bottom up.
- Drip Edge Installation: A metal “L”-shaped flashing is installed at all edges (eaves and rakes) of the roof. This directs water into the gutters, rather than letting it run behind them, which rots the fascia board.
- Ice & Water Shield: This is a thick, rubbery, self-adhering membrane. It is the most critical waterproofing layer. It must be installed in the most vulnerable areas: along all eaves (to prevent ice dams), in all “valleys” (where two roof planes meet), and around all penetrations (chimneys, skylights, pipe vents).
- Underlayment (The “Felt”): Once the critical areas are shielded, the rest of the roof deck is covered in underlayment. Modern synthetic underlayment is now the standard. It is far more tear-resistant, waterproof, and durable than old-fashioned black asphalt felt paper.
Day 2-3: The Details That Prevent Leaks
This is where true craftsmanship is on display.
- Flashing: This is the most technical part of the job. The crew will install new metal flashing wherever a roof plane meets a vertical surface. This includes:
- Step Flashing: Woven in with the shingles along a wall.
- Counter Flashing: Cut into the chimney mortar for a watertight seal.
- Apron Flashing: Where a sloped roof meets a flat wall.
- Pipe Boots: New seals around all your plumbing and exhaust vents.
- A quality contractor will always replace old flashing, not “reseal” it.
- Installing the Shingles: With the foundation set, the crew can finally lay the shingles. They will start at the bottom and work their way up. They must follow a specific nailing pattern (using 4-6 nails per shingle, depending on wind zone requirements) and ensure the nail is driven flat, not too deep and not left too high. This is what activates the wind warranty.
- Restoring the “Lungs” of Your Roof: Ventilation: A roof must breathe. A proper ventilation system draws cool, fresh air in through the soffits (under the eaves) and exhausts hot, moist air out at the top. This prevents attic condensation and mold in the winter and lowers your cooling bills in the summer. It is also required by all shingle manufacturers to validate the warranty. The crew will install a ridge vent along the peak of the roof, which is the most effective and aesthetically pleasing solution.
Phase 3: Post-Installation and Final Wrap-Up
The job isn’t done when the last shingle is nailed. The final steps are what define a professional service.
The Meticulous Cleanup Process
A good crew cleans up as they go, but the final cleanup is a dedicated process.
- All debris is removed from the roof and gutters.
- Tarps are carefully folded, and landscaping is checked.
- The entire perimeter of your home—lawn, mulch beds, driveway—is swept with a large, rolling magnet to pick up stray nails. This is a critical safety step.
- The dumpster is scheduled for removal.
The Final Walk-Through with Your Project Manager
Before the crew leaves, the project manager (or site foreman) should walk the property with you. This is your opportunity to:
- Inspect the work from the ground.
- Point out any concerns (e.g., a scuffed gutter, a missed nail).
- Ask questions about your new system.
- A professional contractor will not consider the job complete until you are 100% satisfied.
Handling Final Payment and Warranty Paperwork
Never make the final payment until the walk-through is complete and all work has been finished to your satisfaction. Once you sign off, the contractor will provide you with two essential documents:
- The Manufacturer’s Warranty: This covers defects in the materials themselves (e.g., GAF’s 50-year warranty).
- The Workmanship Warranty: This is the contractor’s own warranty, guaranteeing their labor against installation errors. A quality company will offer a warranty of 10 years, 25 years, or even a lifetime.
Your Role as the Homeowner
While the crew does the work, you have a few key responsibilities to ensure a smooth project:
- Prepare: Before Day 1, move your cars from the driveway, clear your patio, and take any fragile items or pictures off your home’s exterior walls.
- Communicate: If you have a question or concern, direct it to the on-site project manager or foreman, not the individual installers, who are busy and may not speak the same language.
- Be Available: Be reachable by phone, especially on Day 1 during the decking inspection. A 10-minute “go-ahead” from you can save hours of project delays.
- Be Safe: For your safety, do not walk around the property or let pets or children into the yard while work is overhead.
Choosing Your Partner: The Key to a Predictable Process
A roof installation is a complex, invasive, and loud process, but it should never be a chaotic or stressful one. A professional contractor demystifies the experience by managing every step, communicating clearly, and treating your property with respect.When you hire a top-tier company, you are not just buying shingles; you are investing in a predictable, high-quality service backed by project management, insurance, and long-term warranties. This commitment to process is what separates a simple roofer from a provider of comprehensive residential roofing services, ensuring your home is protected for decades.